[Tutorial] How to share notebooks, datasets and tables
This tutorial briefly describes how to share notebooks, datasets and tables with other BEANS users.
Sharing notebooks is a very simple way to collaborate between a number of user working on some subject.
The plan for this tutorial is as follows:
- creating a new group
- adding a user to the group
- granting a read access to the group to a test notebook
Go to "Account -> Groups" and add "New group":
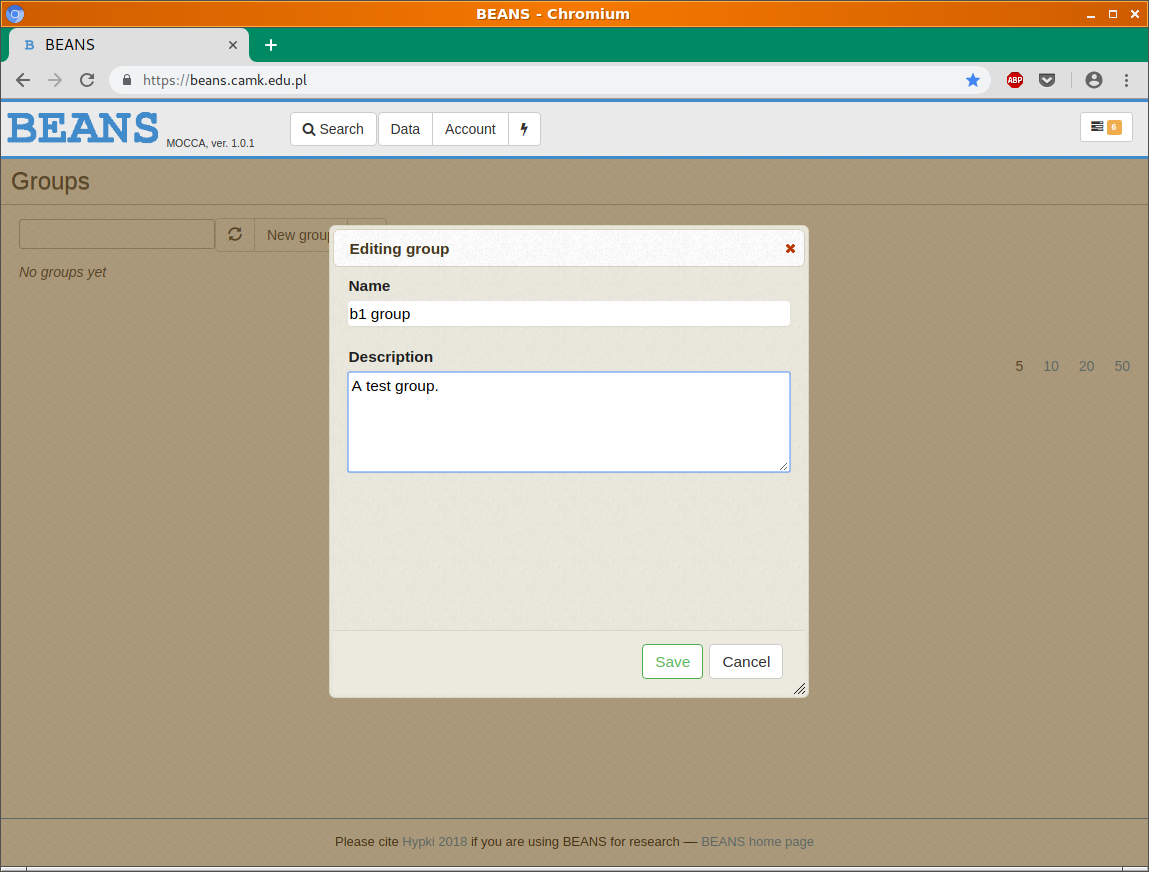
Save changes and on the list of groups there should be visible the new group:
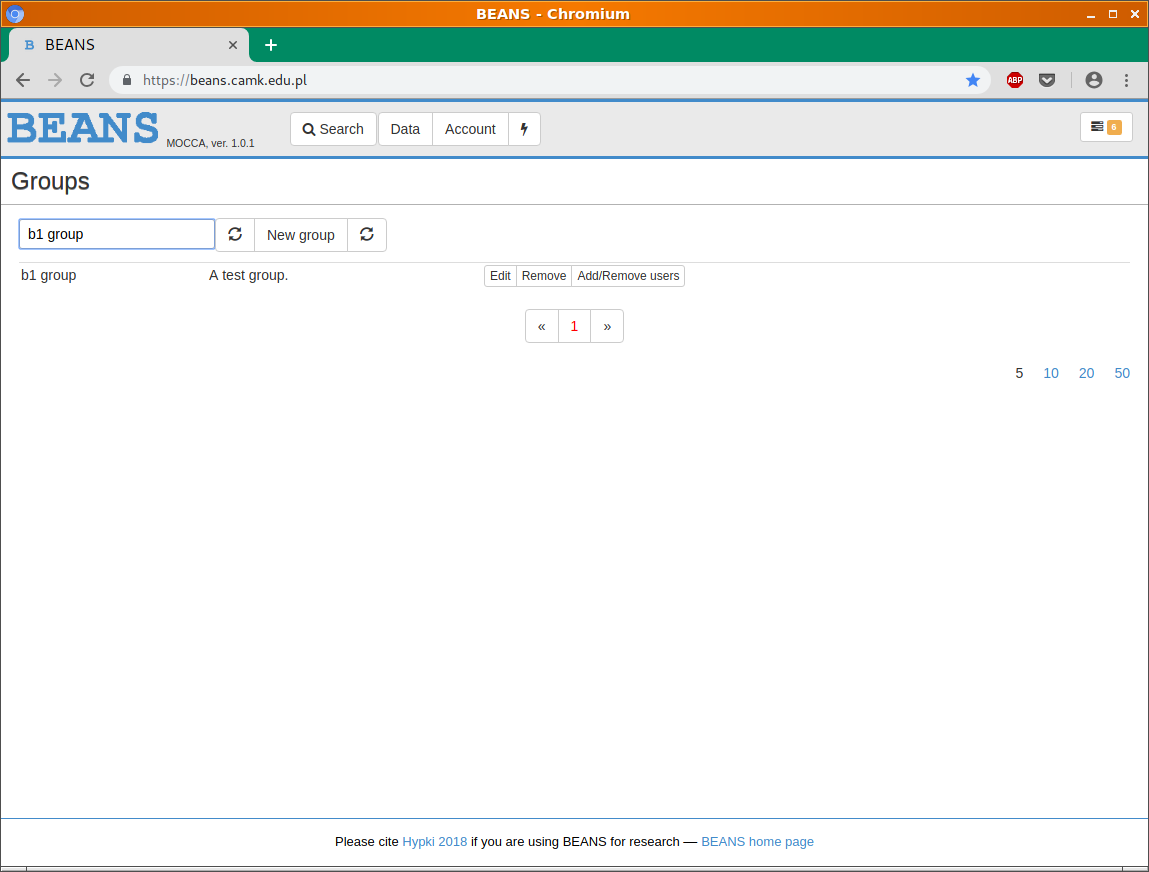
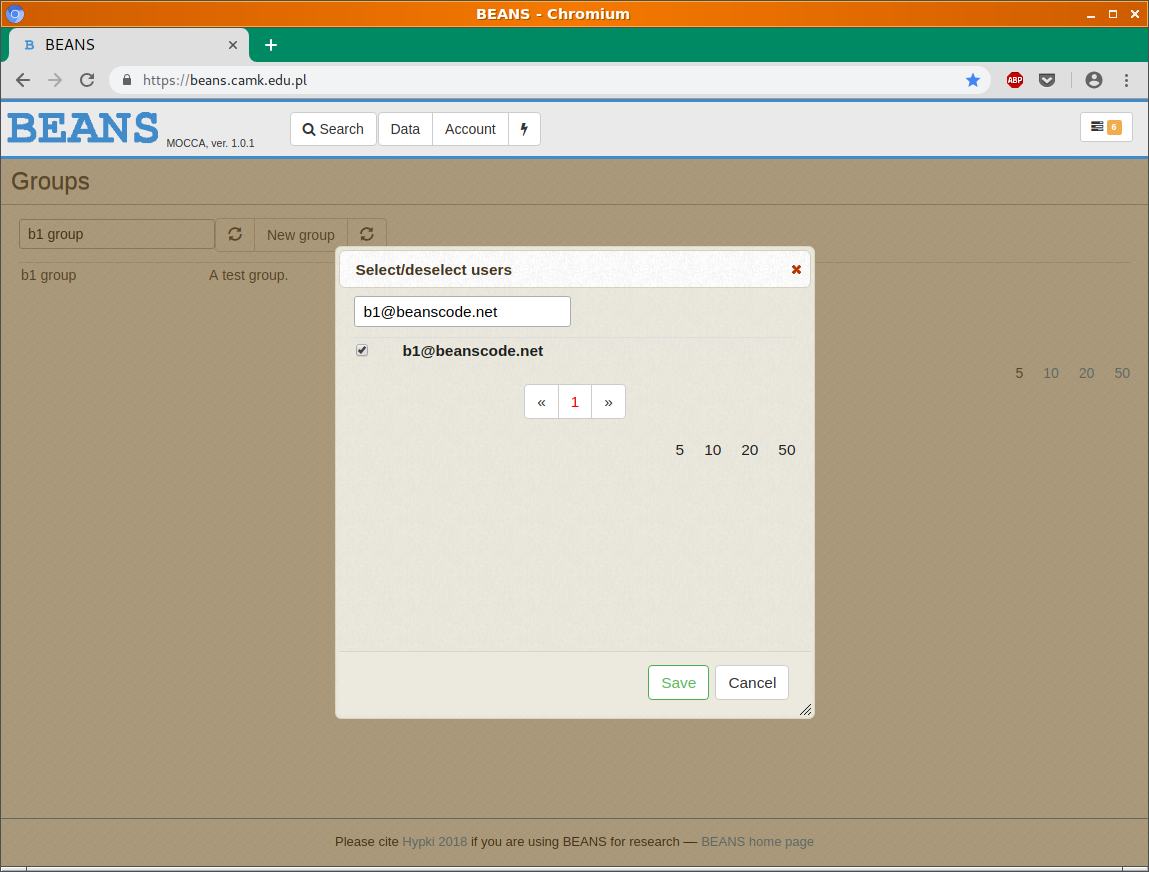
In order to add users to the group choose in group's menu the button "Add/Remove users" and add one or more users to the "b1 group":
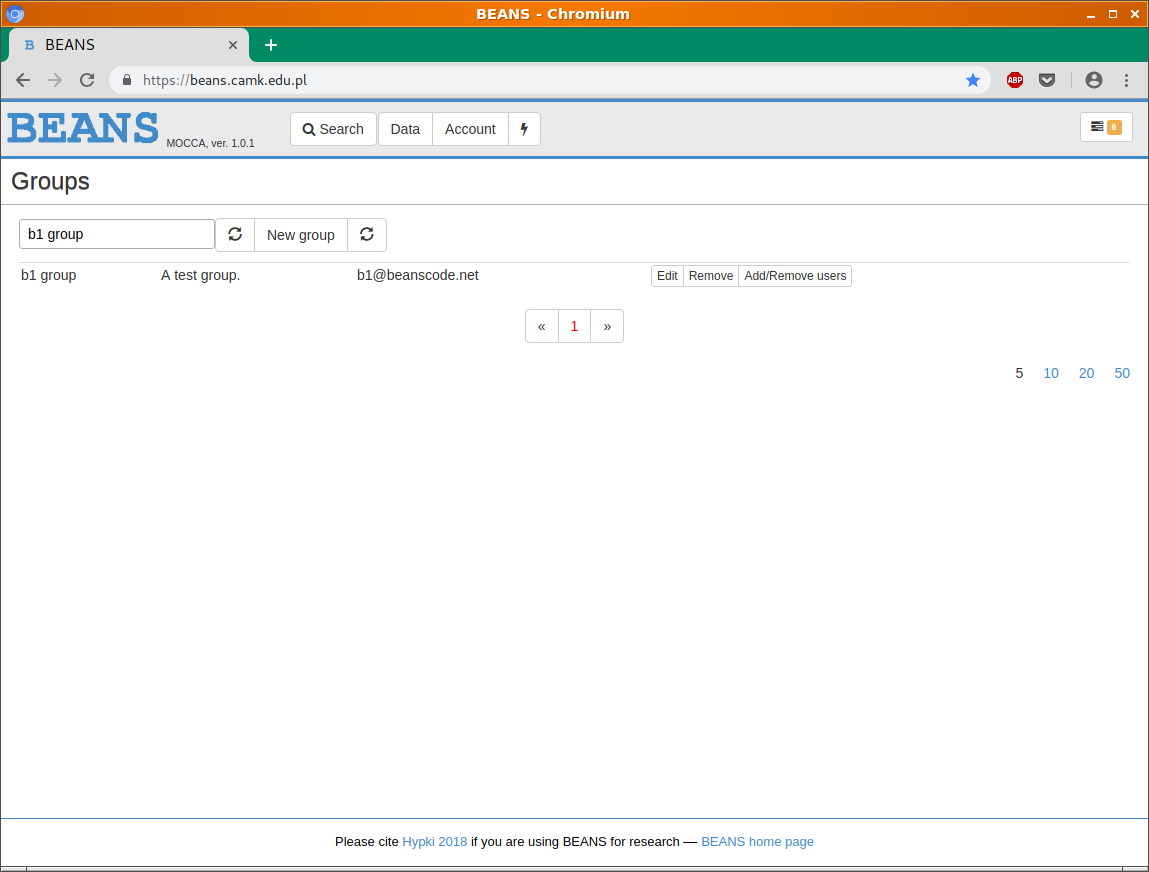
On the groups list one can see that the group "b1 group" has one member "b1@beanscode.net":
In the next step we will share a notebook with this group.
Let's go to the list of notebooks, choose a notebook which you want to share and open the notebook. In menu of the notebook choose "Edit -> Permissions":
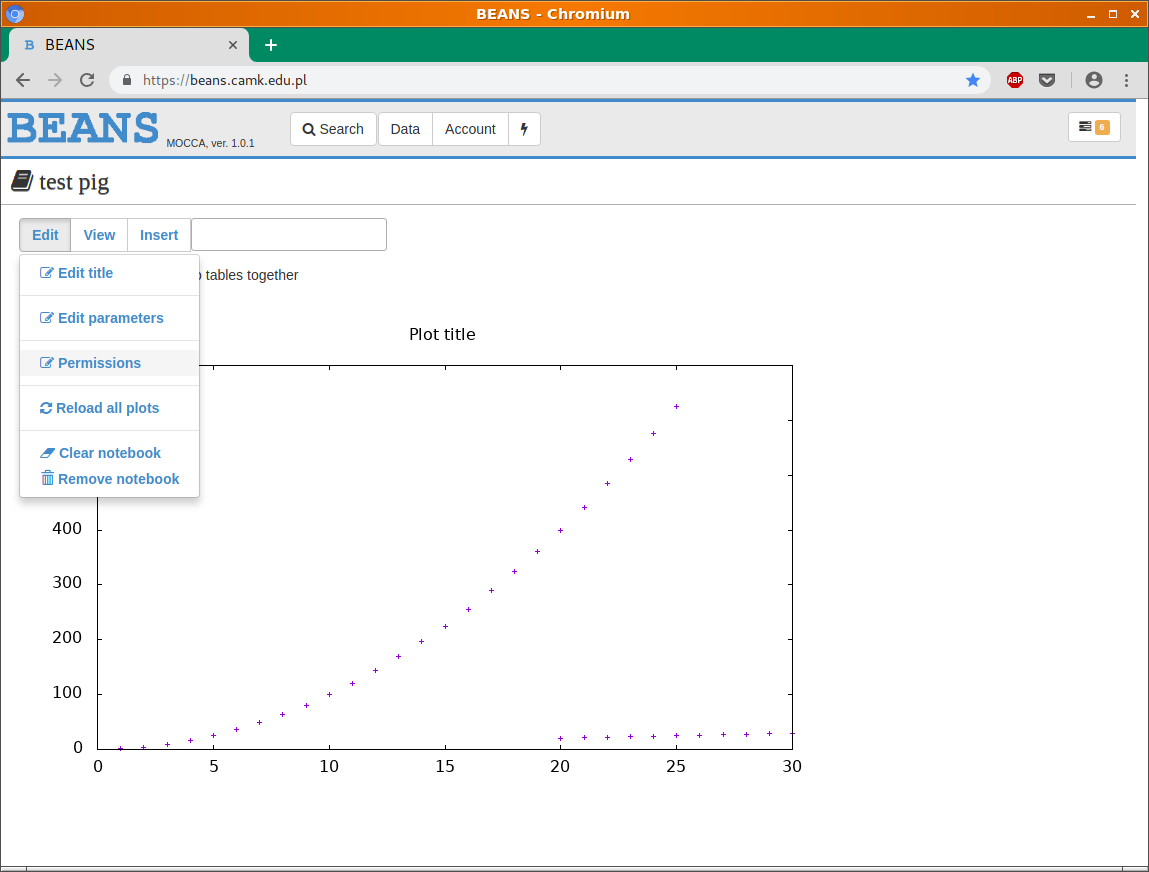
On the dialog box which will open set read or read/write permissions to the selected groups:
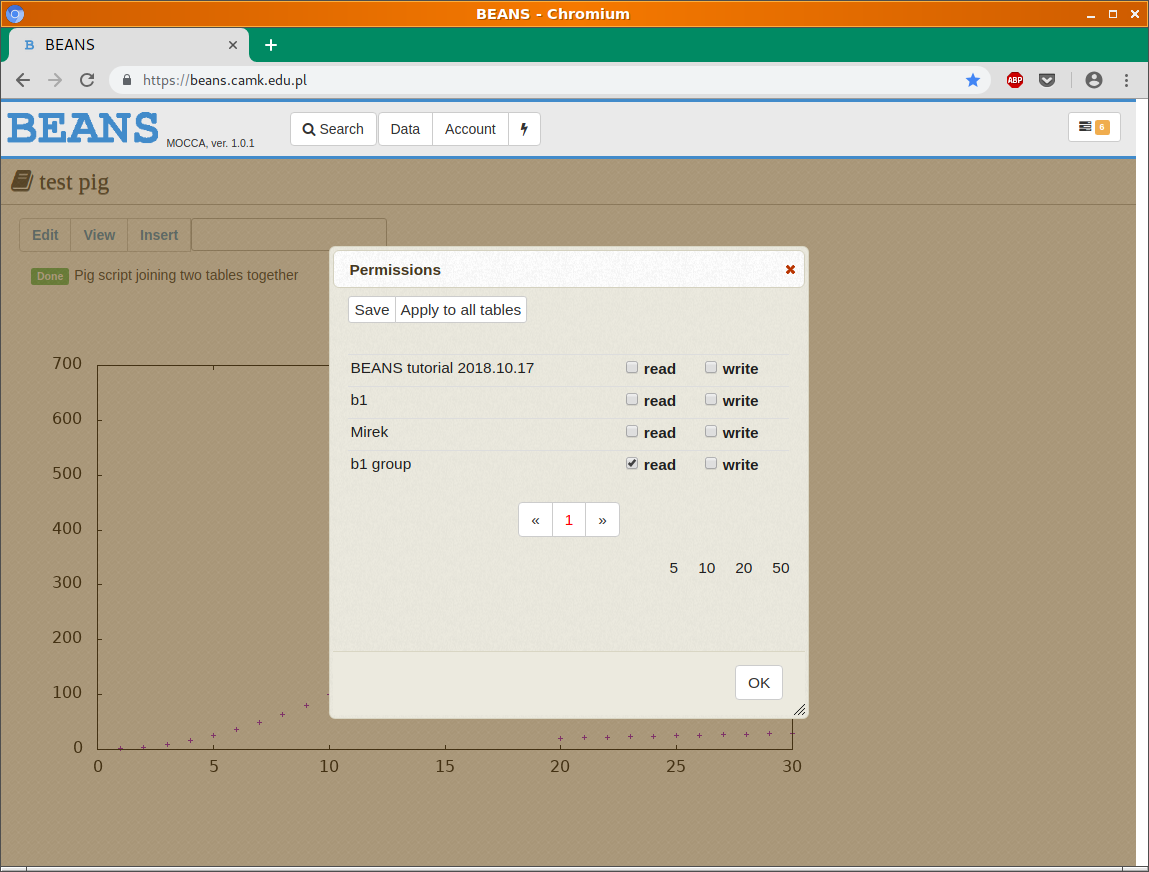
There are two buttons:
- Save - this will save the permissions to the notebook only. The tables in the notebook which are the intermediate results of some scripts will not be shared.
- Apply to all tables - this will save the permissions to the notebook and also to all tables which belongs to this notebook
Click "Save" and the user b1@beanscode.net should see the notebook with all entries, plots and scripts.